Setting up native ads
This guide will help you to set up native orders for Google Ad Manager.
Access your account
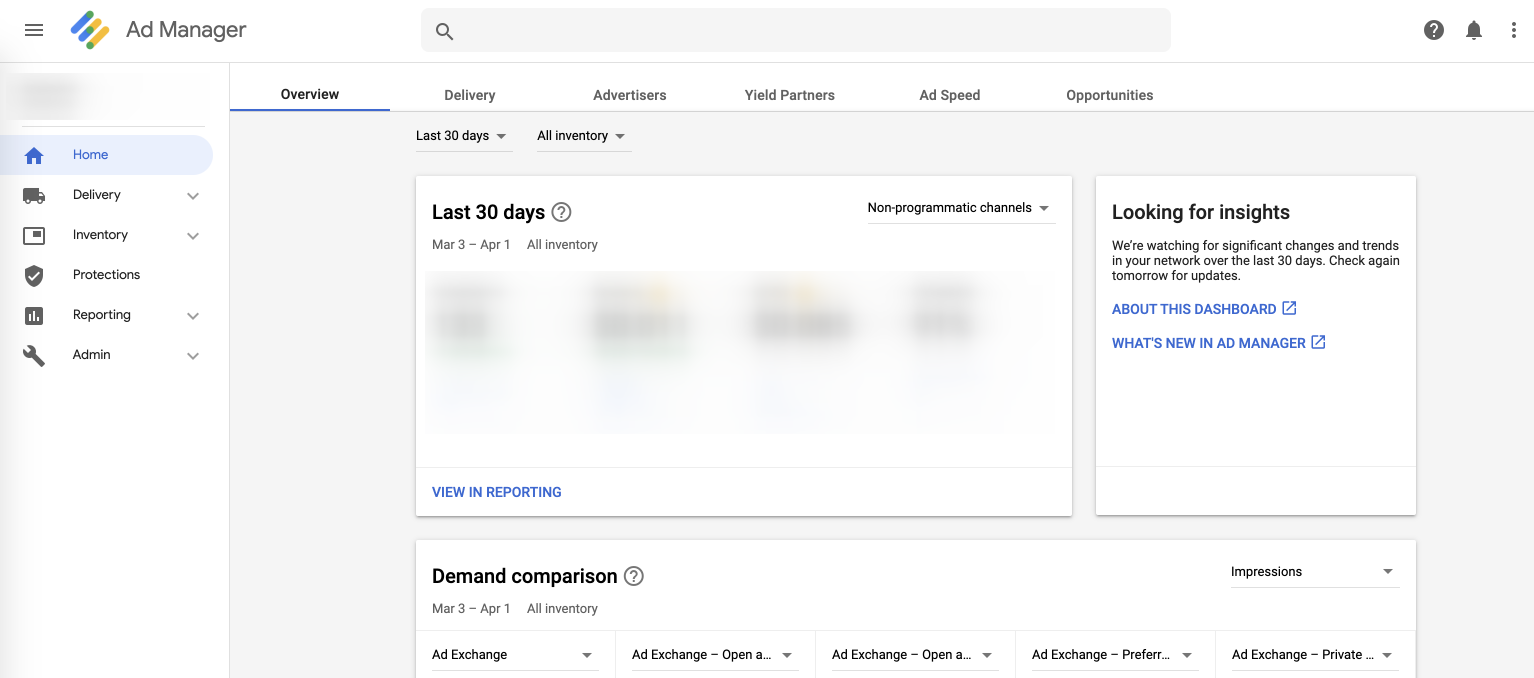
Log in to your account on https://admanager.google.com. You will see a similar screen as below
Step 1 - Setup Order
If you already have order and you want to use it, move to "Step 2 - Setup Creative".
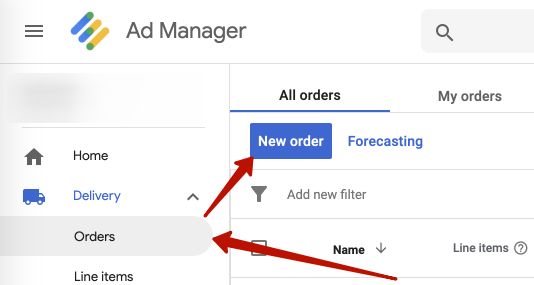
- Choose "Orders" in the Delivery group. Then click on "New order"
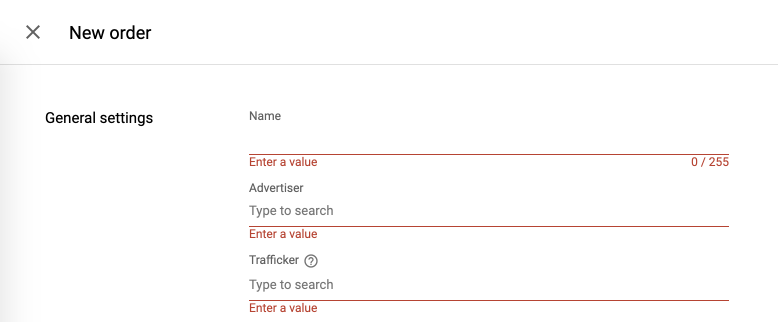
- Fill in three fields: Name, Advertiser, and Trafficker. Then click "SAVE"
Step 2 - Setup Creative
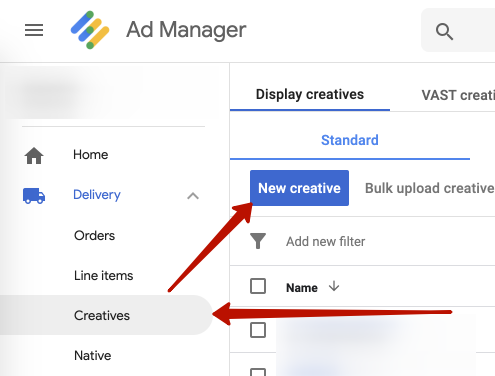
- Choose "Creatives" in the Delivery group. Then click on "New creative".
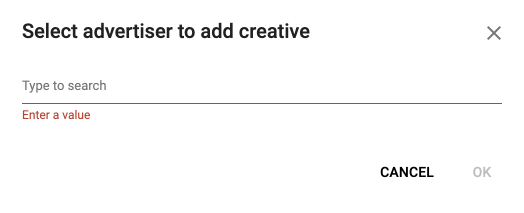
- Select the same Advertiser that you used when setting up an Order. Then click on "OK".
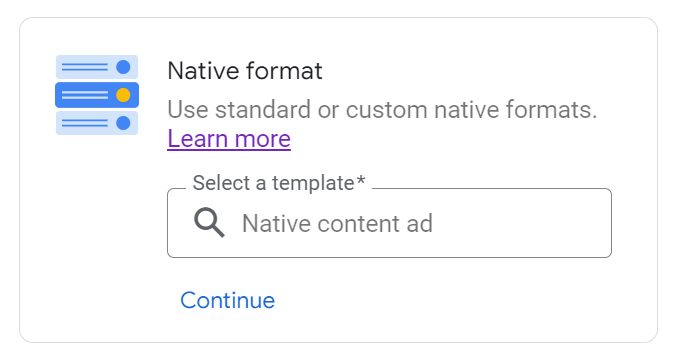
- Choose "Native format" with "Native content ad" template:
- Fill in "Name" and "Click-through URL" with any values:

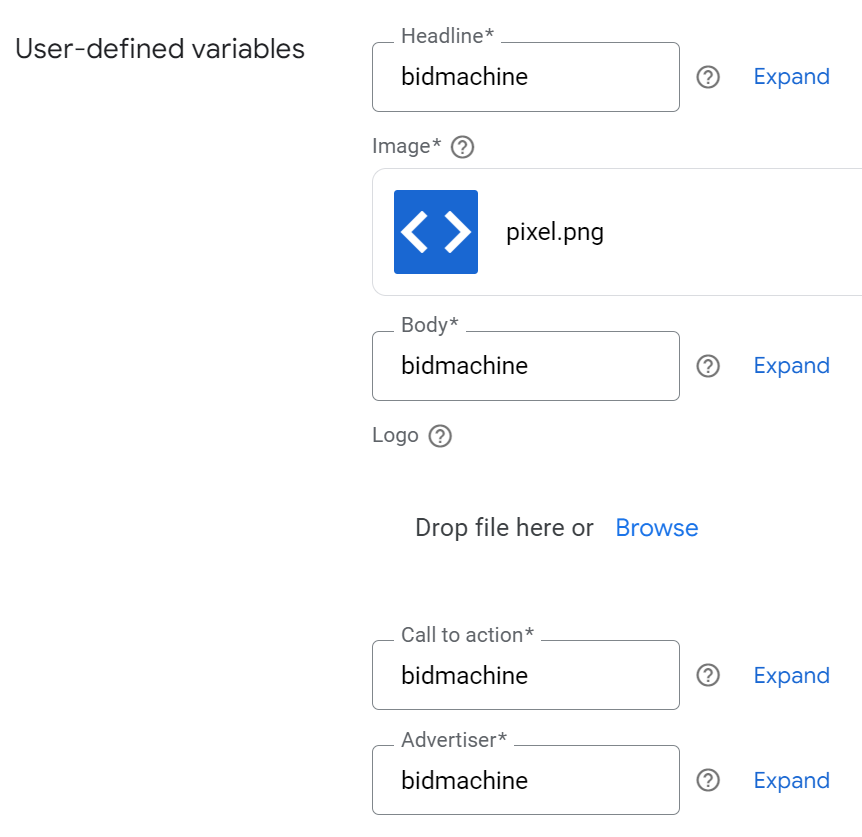
- Fill "Headline", "Body", "Call to action", "Advertiser" as "bidmachine". Attach any image for "Image", preferably very lightweight
Step 3 - Setup LineItem
- Choose "Orders" in the Delivery group.
- Choose a necessary Order from the list. Then click on "New line item"
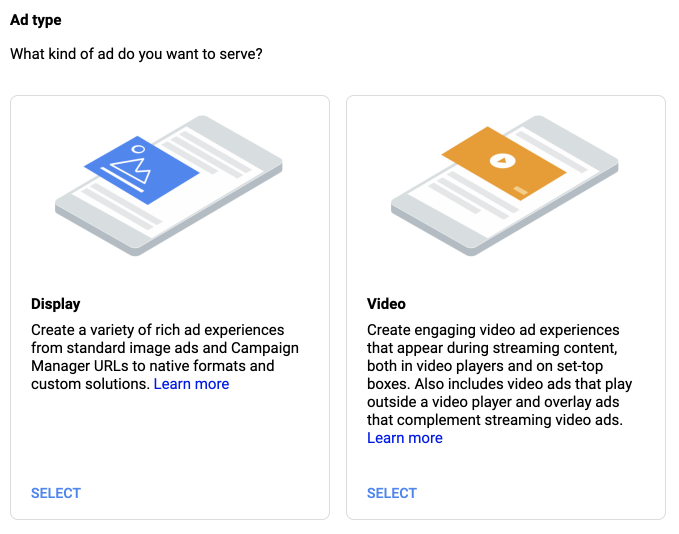
- Choose "Display"
-
On the next screen:
-
Fill in the Name of line item.
-
Set the "Line item type" to "Price Priority":

-
Select "Expected creatives":

-
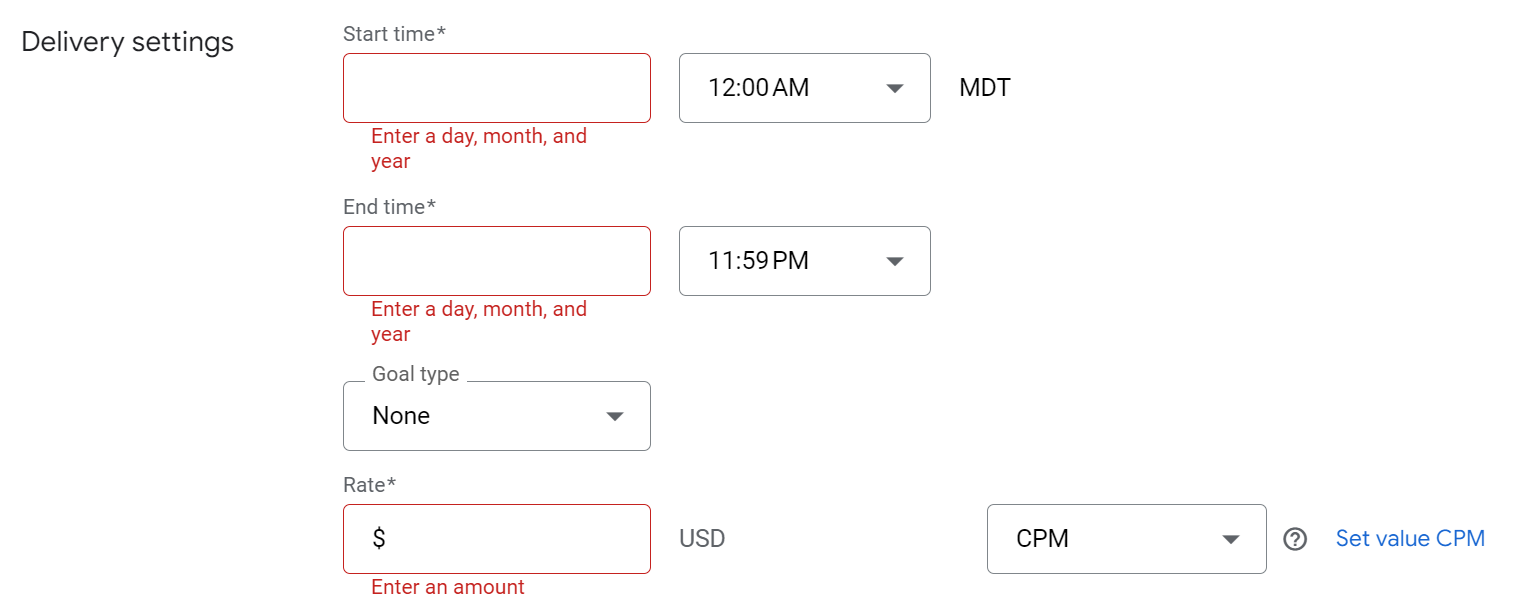
Input "Start time", "End time" in the "Delivery settings" group. Also set "Goal type" to "None" and fill "Rate" with your line item price:
-
Pay attention to the "Child-directed ads" parameter, the value of which affects the fill rate.
The highest fill rate is achieved by selecting "Allow to serve on child-directed requests":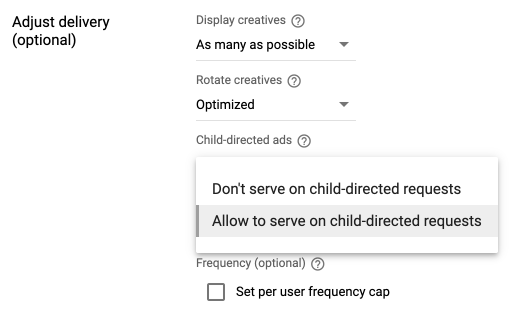
-
Select an ad unit from the list In the "Inventory" group. Add Custom targeting for BidMachine price. Value of custom parameter must contain 2 decimal points, for example, for price 2.9 -
bm_pf:2.90: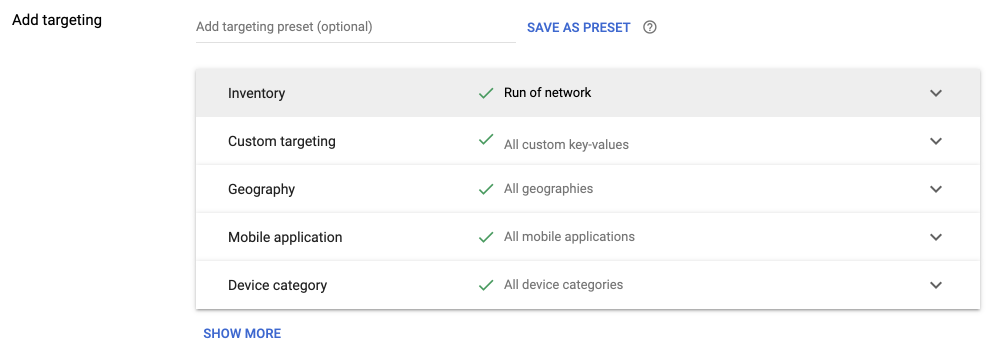
-
-
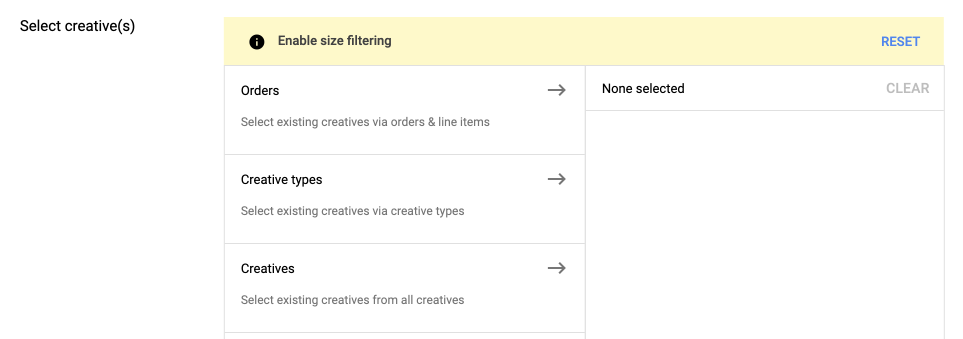
After creating a line item, connect the creative with the line item. For that choose the line item, then choose "Creatives". Then click on "ADD CREATIVE" -> "Existing creative"

- Find creative and click on it.
Updated about 1 month ago